
Maybe it's the paper, but I seem to choose paper where I can use doilies and roses.
Do some stamping and add a little seam binding ribbon.

A soft grey ink is ideal for the stamping on these cards.
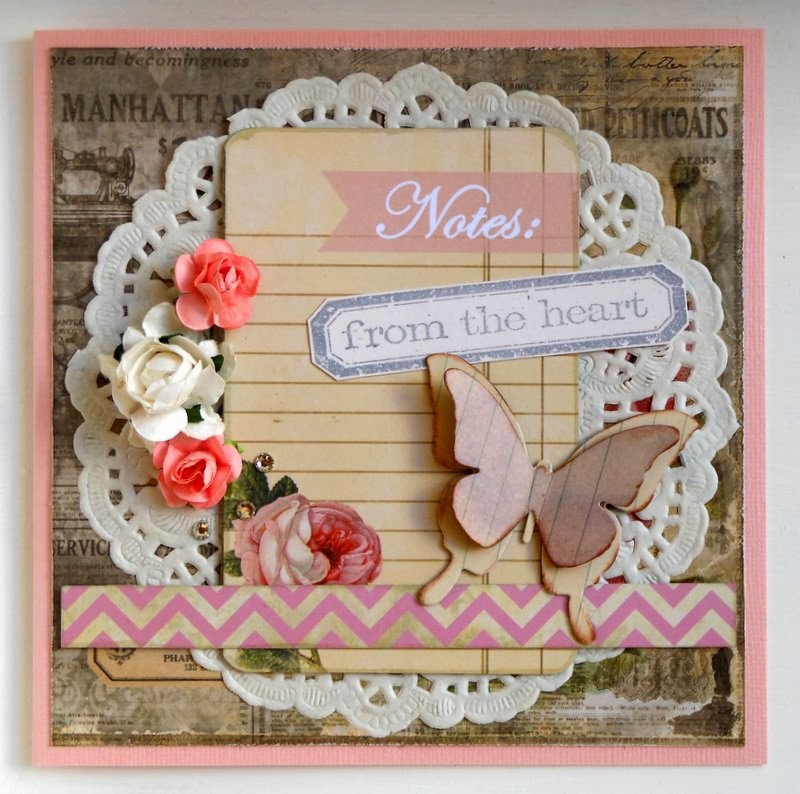

To create the butterfly, cut two different sizes butterflies and chalk the edges.
Only colour the top butterfly with a bit of purple Distress ink.
Score and fold the wings of the small butterfly. Glue it together with
a bit of Mono Multi Glue.

Benice suggested the purple colour that I used here for the card, and it
worked perfectly.
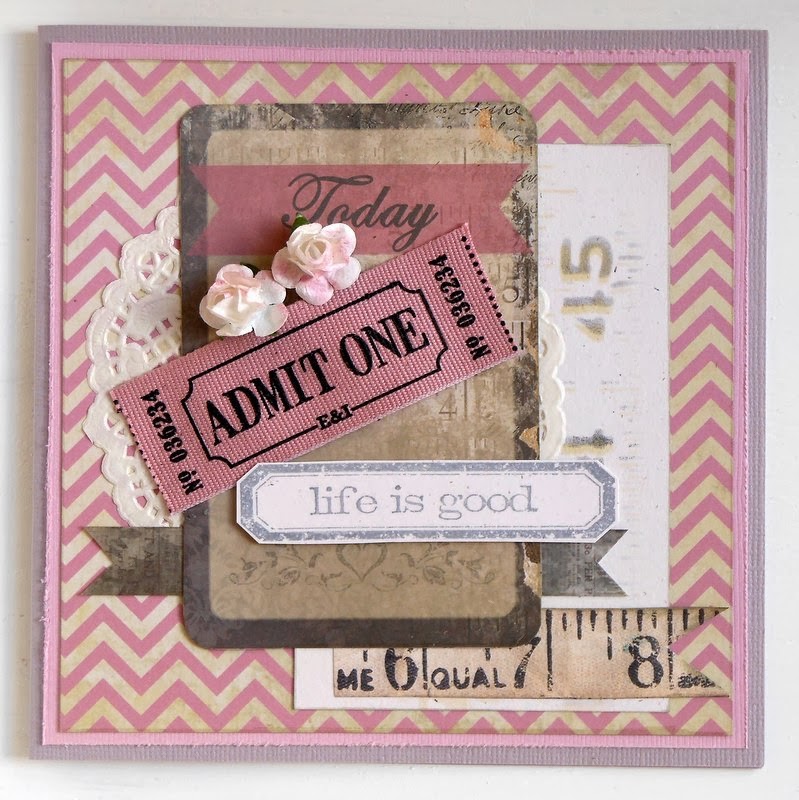
The measure tape element was created with
Tim Holtz's Layering Stencil. First I used a light coloured Distress ink pad,
picked up some ink with the blending tool and applied it over the stencil.
Then I moved the stencil a bit, picked up a darker Distress ink and applied it
over the stencil. That is how you get the shadow or misprint effect.


For the bow, I took a long piece of ribbon and folded it a few times.
Then I took a short piece of ribbon and tied it together with
a double knot.


Cut two of the same butterflies and dry emboss the top one.
Then spray the top one with glimmer mist.
Use the blending tool and some purple ink to highlight
the swirls on the butterflies.
Glue together with some Mono Multi Glue.


Nothing fancy on this card.
Tip/Trick #7: After applying the Mono Multi glue,
wait for it to dry, then position it on the card.
(All my different Tips and Tricks are called: Trick #7!)
Keep well.
No comments:
Post a Comment