Hi everyone,
For these cards I also took out the seam binding, the buttons, the pattern paper, the doilies the stamps and the inks. Oh, and the measuring tape.
If you have a kit like this, start by cutting and folding all you card stock for you cards.
Put the six blank cards in front of you.
Cut out the different elements for each card.
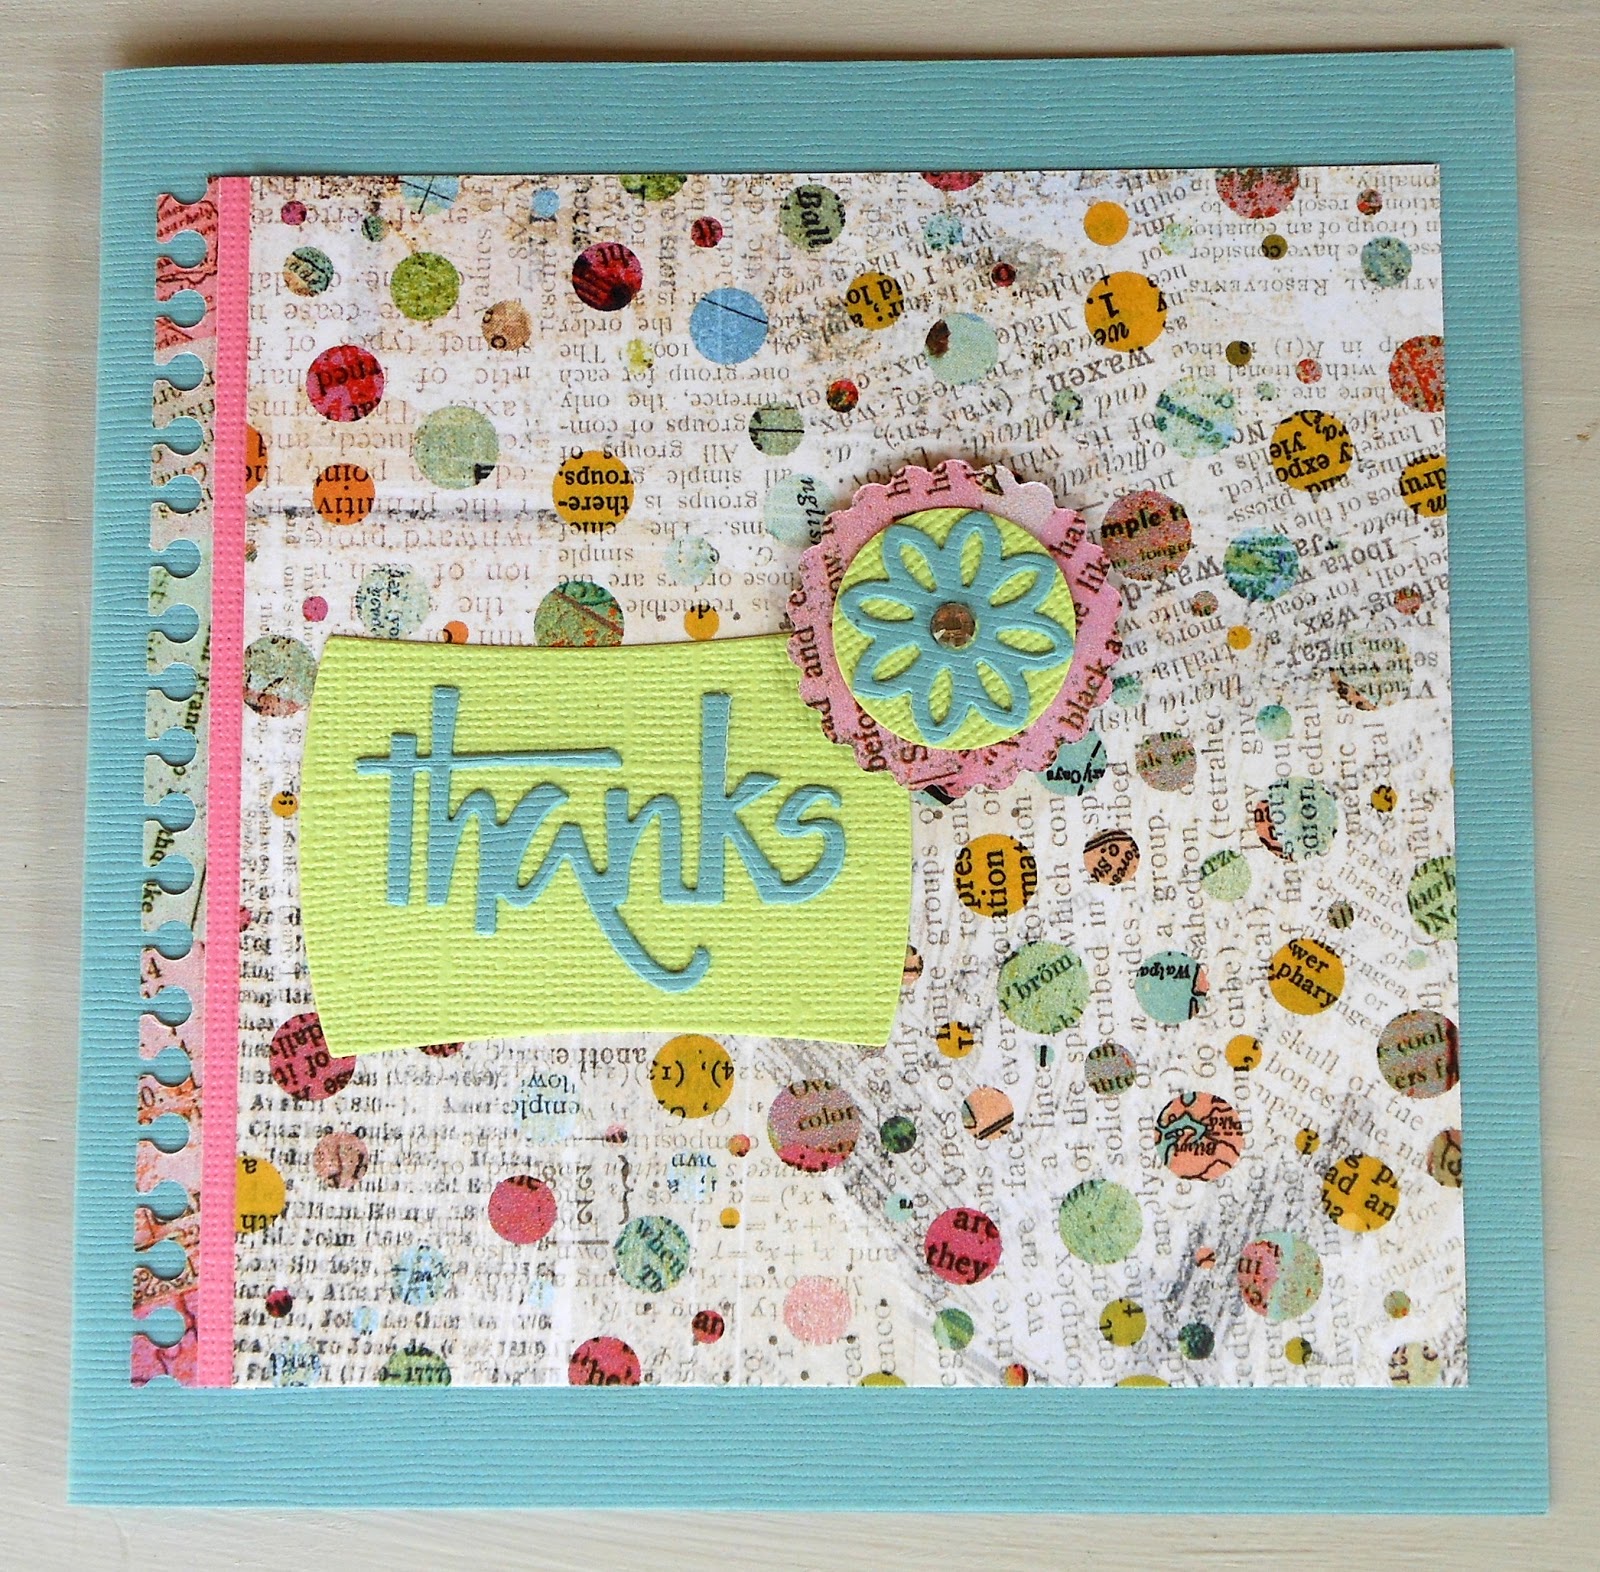
Put all the elements on each card, even the buttons and ribbon and flowers.
When you have this sorted the rest will be easy and not so confusing.
Now you need to put double sided tape at the back of every element.
A piece of tape close to the edge of each side. Then a small piece in the centre of each piece of paper. This piece will be the first one you remove, just to position the element on your card.
Here you can see that I am still busy removing the double sided tape.
First the small piece and then when you've got the positioning correct,
you can start removing the rest.
You can distress the sides of the paper with a paper distresser,
just for a bit of texture.
Remember always to analyse your picture to see at what stage do you need to tie the ribbon.
The element next to the blue bias binding was painted with glimmer spray.
All the paper lace on these cards were glued to the card with Mono Multi glue.
Only use small drops of glue. Let it dry and then place the elements on the card.
The yellow bias binding bow was glued down with Mono Multi glue. (dry)
To glue the doilies to the cards I used my Zig blue pen. (dry)
To make the flowers.
Make sure you have different sizes of flowers.
Spray or colour them,
and use an embossing tool to create a 3D effect
on the flower after it has dried properly.
For all the chipboard elements I used Mono Multi glue. (dry)
If you look closely, you will see that I cut out a thimble from another picture and raised both the words and the thimble by using foam glue squares.
For the piece of measuring tape, I used double sided tape.
Use some embroidery thread and tie a knot at the top of each button.
Use foam squares to glue down the buttons.
Glues Of Choice:
Mono Multi.(repositionable)
Zig glue pen (repositionable)
Double sided tape.
3D Foam squares.
Ink for stamping:
Archival Black Dye ink.
Embossing:
Cuttle Bug and Embossing Dies
Chipboard Elements:
Enmarc Mini Borders
Cutting:
Scissors and Carl paper trimmer.
Paper flowers:
Tim Holtz Die
Happy Card Making!