Thursday, February 20, 2014

Getting ready for the tekkie class

There are water buckets, paint brushes, paint, gel medium,
stamps, water spray bottles and lots of other stuff on my studio table.


Yesterday I spent the day cleaning the studio. Today, I spent the day 
getting everything ready for the class on Saturday.

That included getting the samples ready of the Distress paints
 I want to use instead of the normal acrylic paints and sealing them with
gel medium to see if they are water resistant.
Two of them were not!
It was the first two that I bought a couple of years ago.
Terracotta and Lettuce.
The others are fine and didn't react to the gel medium being painted over them.
Interesting....


All I still need, is a couple of plastic sheets to cover the tables
and then I am ready for the class.
Keep well !

Thursday, February 13, 2014

Polka dots for Valentines.


Herannies is a craft shop in Centurion.
You never walk out of the shop empty handed.
Karin gave these hearts to me and said that I should see what I can do with them.
So they were on my table for a while and today 
I finished them.

They fit in perfectly with the whole grey and white look of the studio.


Of course they are painted with my new favorite paint and
the dots made with the back of a pencil, dipped into the old white paint.

Finished off with a coat of clear wax and they were ready to hang.
Happy Valentines!

Sunday, February 9, 2014

Live with your Hart and Annie Sloan's Chalk Paint

This was the project for Saturdays class.
We started by gluing down the letters and the small hart.


When that was dry, we painted it a coat of white paint.
One coat is enough, because you will paint a top coat in
a colour of your choice.


Let the paint dry before you start with the next coat.

(Ok, I missed a few photos  in between....)

Paint the hart the colour of your choice and see that you have all the 
nooks and crannies covered.
After the paint has dried, it is time to apply your wax.
Always the clear wax first. Remember you don't want to see 
patches of wax, so take your mutton cloth and rub it evenly 
over the whole piece.
After the wax has settled and dried, you can sand down 
the top layer of paint is certain places so that the piece 
has a natural worn look.


Finish off with a mixture of light and dark wax.
The results are stunning.

The next class will be on the 1st of March.
At Sweet Scrappins.
To book your class phone: 012 329 9175.


Thursday, January 30, 2014

Let's make **Magic**

This little faerie wand has been laying in my cupboard for years!
Unpainted and bland, but the ideal item to transform.

Now that I look around for stuff to paint, I dig out 
 the wooden blanks from my decoupage days.
These small items are perfect to practice a new technique.


Experiment and have fun. If it doesn't turn out the way you
wanted it. Repaint it. There are so many ways to add
interest to an article.
Read up on the internet and add your own magic.


I am still experimenting so I can find my own way, but
let's make magic!

Friday, January 24, 2014

Coat Hanger for a Special Dress.

Painting is my new craze, but even I could not 
really believe my eyes on how this turned out.


Imagine your whole cupboard full of coat hangers like this.....
 in all the colours!


The before and after says it all.
This was # 1. 
I am excited, because there are many more to come.
Enjoy the weekend.

Tuesday, January 21, 2014

Maybe it's my style?

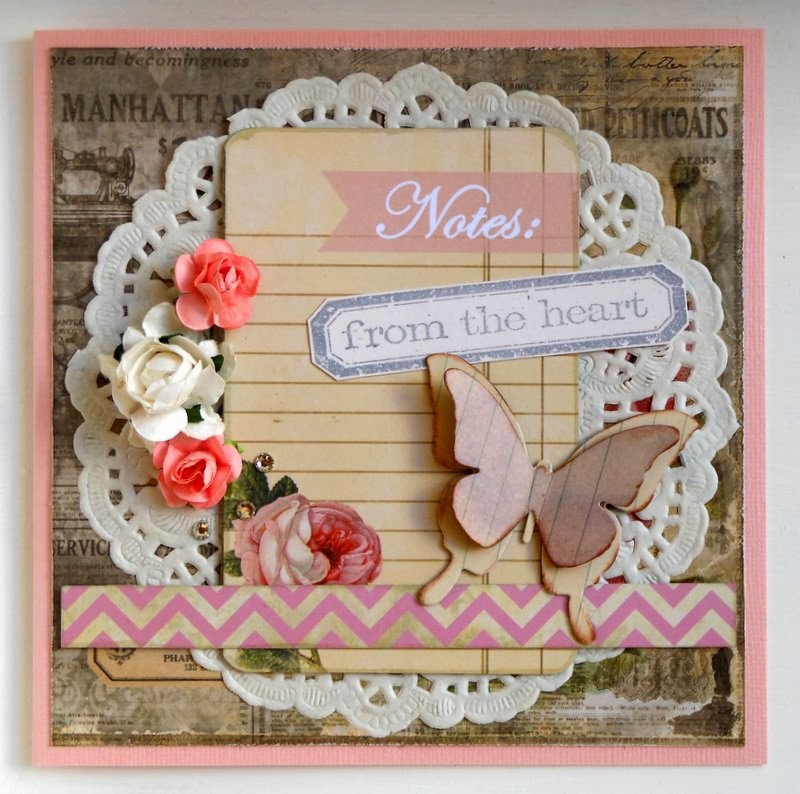
Maybe it's the paper, but I seem to choose paper where I can use doilies and roses.
Do some stamping and add a little seam binding ribbon.


A soft grey ink is ideal for the stamping on these cards.


To create the butterfly, cut two different sizes butterflies and chalk the edges.
Only colour the top butterfly with a bit of purple Distress ink.
Score and fold the wings of the small butterfly. Glue it together with 
a bit of Mono Multi Glue.


Benice suggested the purple colour that I used here for the card, and it 
worked perfectly. 
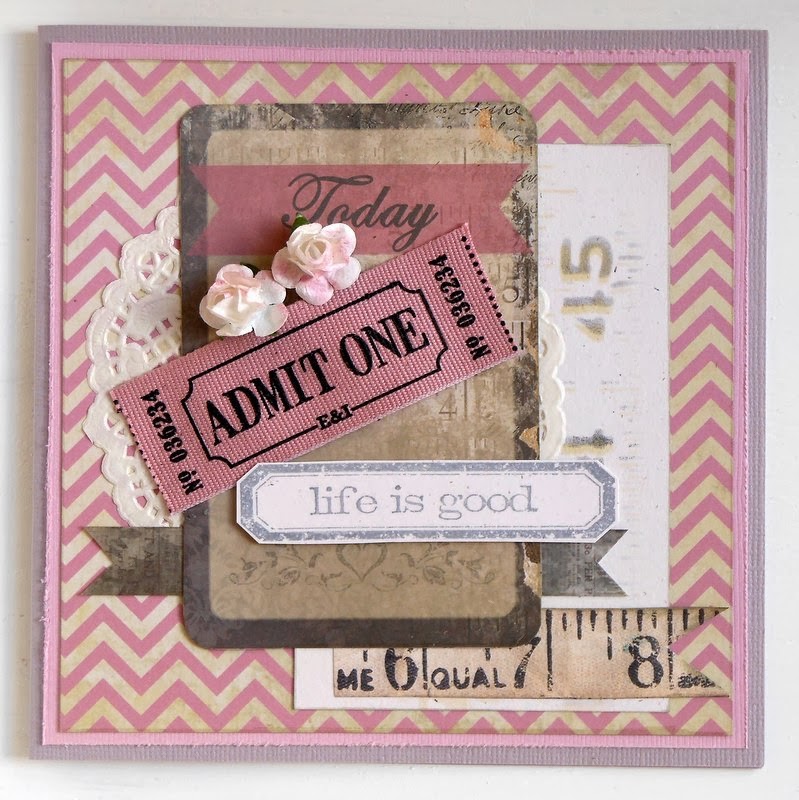
The measure tape element was created with 
Tim Holtz's Layering Stencil. First I used a light coloured Distress ink pad,
picked up some ink with the blending tool and applied it over the stencil. 
Then I moved the stencil a bit, picked up a darker Distress ink and applied it
over the stencil. That is how you get the shadow or misprint effect.


For the bow, I took a long piece of ribbon and folded it a few times.
Then I took a short piece of ribbon and tied it together with 
a double knot. 


 Cut two of the same butterflies and dry emboss the top one. 
Then spray the top one with  glimmer mist. 
Use the blending tool and some purple ink to highlight 
the swirls on the butterflies.
Glue together with some Mono Multi Glue.


Nothing fancy on this card. 

Tip/Trick #7: After applying the Mono Multi glue, 
wait for it to dry, then position it on the card.

(All my different Tips and Tricks are called: Trick #7!)

Keep well.


Friday, January 17, 2014

Le Bleu, my blue garden chair.

My old, new chair.... yes, this chair is probably as old as me..
Ok, maybe a bit younger, but it belonged to my grandmother!


I repainted this chair when we got back from holiday.
I could not wait to start painting.
Normally the Annie Sloan look is an aged look, 
but I wanted this chair to stand out and be bright.
Before I painted the metal part of the chair it had to be sanded it a bit.
Not to much. 
Then two coats of Pure White on the metal and two coats of 
Greek Blue on the wood.
I sealed it with a layer of Clear Wax and it was ready to go !
(before I started, the metal was beige and the wooden slats were brown)

I feel like I will be busy for life.. all the pine furniture in my house will be painted.
If you come and visit, and you look like pine or stand still for to long...
you will be painted too!!  

Thursday, January 16, 2014

Card Class Saturday 18 January 2014

Dressing up is always fun! Finding embellishments for
a card is also fun. It is the same as dressing up.
Can I add this..., will this go..., is this to much...?
All the same questions.

Saturday 18 January we will be making 6 Cards.


As always learning, relaxing and creating.
Book your class at
 Carla: 0123299175