Showing posts with label Papercraft. Show all posts

Thursday, May 8, 2014

Die cuts and Doilies.

Today I am sharing my last set of easy to make cards.
Since these I haven't made a set of cards. I have been too busy with
painting stuff and living life. At this stage I am also busy decorating the " powder room"
in the studio. The chair has been painted and the towel holder is now attached to the wall.
Now the curtain must come down and the clips must be finished off with
silver gilders paste.  In between I must still paint the shelf from the old studio so that it can go back
into the new studio.
The drawers and the wooden chairs must also be painted.
Maybe I am a bit overwhelmed.... 


I hope you like the new logo for the blog.
There was a choice between two, maybe I will still change it to the other one.
Keep Crafting.  X

Tuesday, January 21, 2014

Maybe it's my style?

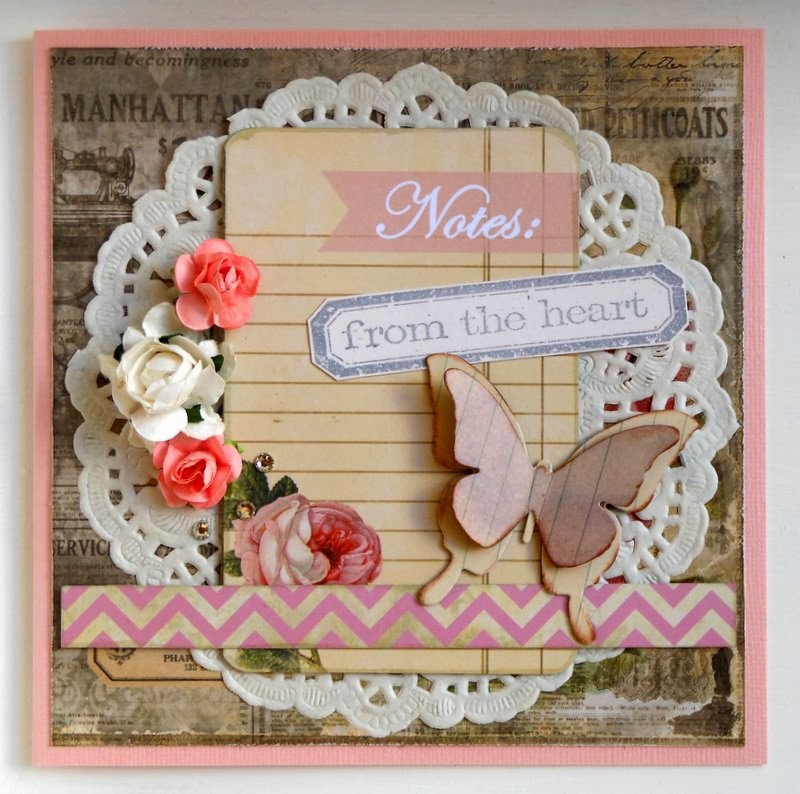
Maybe it's the paper, but I seem to choose paper where I can use doilies and roses.
Do some stamping and add a little seam binding ribbon.


A soft grey ink is ideal for the stamping on these cards.


To create the butterfly, cut two different sizes butterflies and chalk the edges.
Only colour the top butterfly with a bit of purple Distress ink.
Score and fold the wings of the small butterfly. Glue it together with 
a bit of Mono Multi Glue.


Benice suggested the purple colour that I used here for the card, and it 
worked perfectly. 
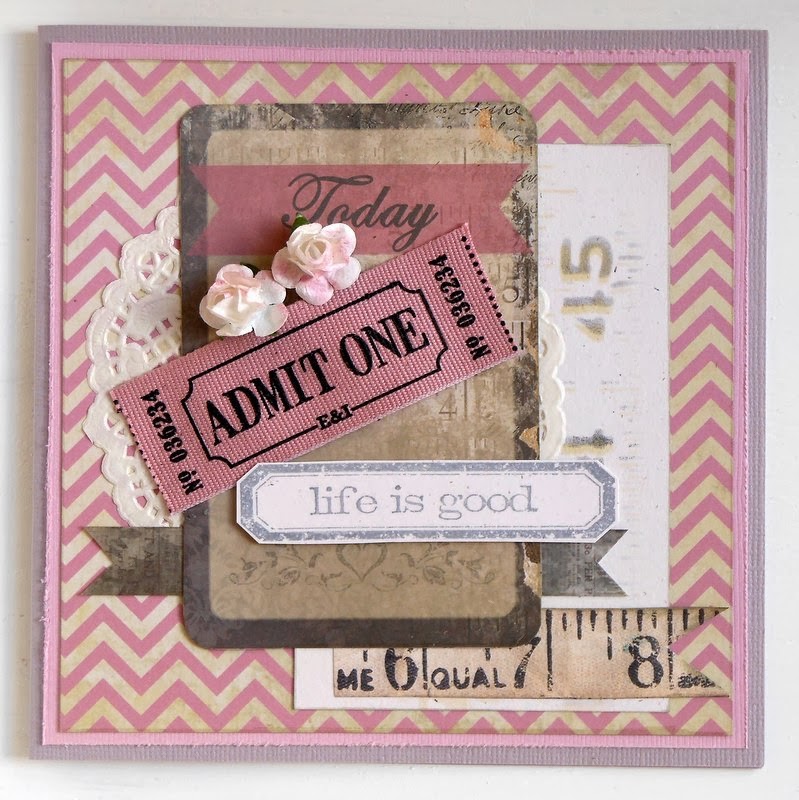
The measure tape element was created with 
Tim Holtz's Layering Stencil. First I used a light coloured Distress ink pad,
picked up some ink with the blending tool and applied it over the stencil. 
Then I moved the stencil a bit, picked up a darker Distress ink and applied it
over the stencil. That is how you get the shadow or misprint effect.


For the bow, I took a long piece of ribbon and folded it a few times.
Then I took a short piece of ribbon and tied it together with 
a double knot. 


 Cut two of the same butterflies and dry emboss the top one. 
Then spray the top one with  glimmer mist. 
Use the blending tool and some purple ink to highlight 
the swirls on the butterflies.
Glue together with some Mono Multi Glue.


Nothing fancy on this card. 

Tip/Trick #7: After applying the Mono Multi glue, 
wait for it to dry, then position it on the card.

(All my different Tips and Tricks are called: Trick #7!)

Keep well.


Monday, October 14, 2013

Altered Cigar Box

Sometimes you just have to make something, just because
 you want to, or as Benice says: Just because you can!
 
 
Cigar boxes are wonderful to work with and a excellent object to alter.
This is what I have done with mine.

 
Remove all the existing paper. Take the all the measurements and cut
the paper into the different sizes. I took my guide from the box itself.

 
Plan the cover carefully and don't glue anything down until you have a
place and a space for everything.
Move it around until you are happy with your layout.
 
 
I used:
Prima Paper
Silk ribbon
Antique lace
UTEE
Distress stains
Distress paints
Glimmer mists
Embellishments from my stash
 
 
A sneak peak of the indide of the box.
You will find more detail in the latest Scrapping & kie
magazine. Issue 57.


Monday, July 22, 2013

Cards made with Love

Spray and Stamp and Cut and Sew. All in a day's work.
I love using doilies on my cards. From now on
I will be layering the doilies as well.
Big and small and in different colours.
 
This is my favourite card of this bunch.
 
When I look at these photographs, I can see what extra I should have put on.
The cards that I see on the Internet has lots of die cuts and
labels on them and they look gorgeous.
 
The green card stock was stamped with shadow ink
and the edges were then distressed.
 
The bobbin label was stamped separately, cut out and glued down.
 

Grandmas nails were done with some pink Stickles.
 
If you have Distress stains or Distress Inks, it is easy to colour in the stamped image.
Wet a small brush, wipe off the excess water and pick up some ink and colour away.
 
The wording was coloured with Silver Distress stain. Perfect for chipboard.
 
Dry emboss the pink paper and the sand it lightly.
 
Plain Bias binding are very versatile. Colour, cut, crinkle and stamp.
 
Here I used some green embossing powder around
the edges of the green card stock.I sprayed the paper with
Glimmer Mist and dry embossed the paper.


Sunday, April 21, 2013

Recipe Book with Mason Jar and Shadow Stamping

Hi there everyone,
welcome to our blog and to this post. Today I am sharing with you, my Recipe book.
The book was inspired by my clients who wanted to make a recipe
book and by this beautiful colourful paper by Echo Park Paper,
and of course by the mason jar picture on one of the papers!
 
 I painted the chipboard letters with Distress paint from Ranger
and then changed the colour with the Distress Stains.
(also from Ranger)
 
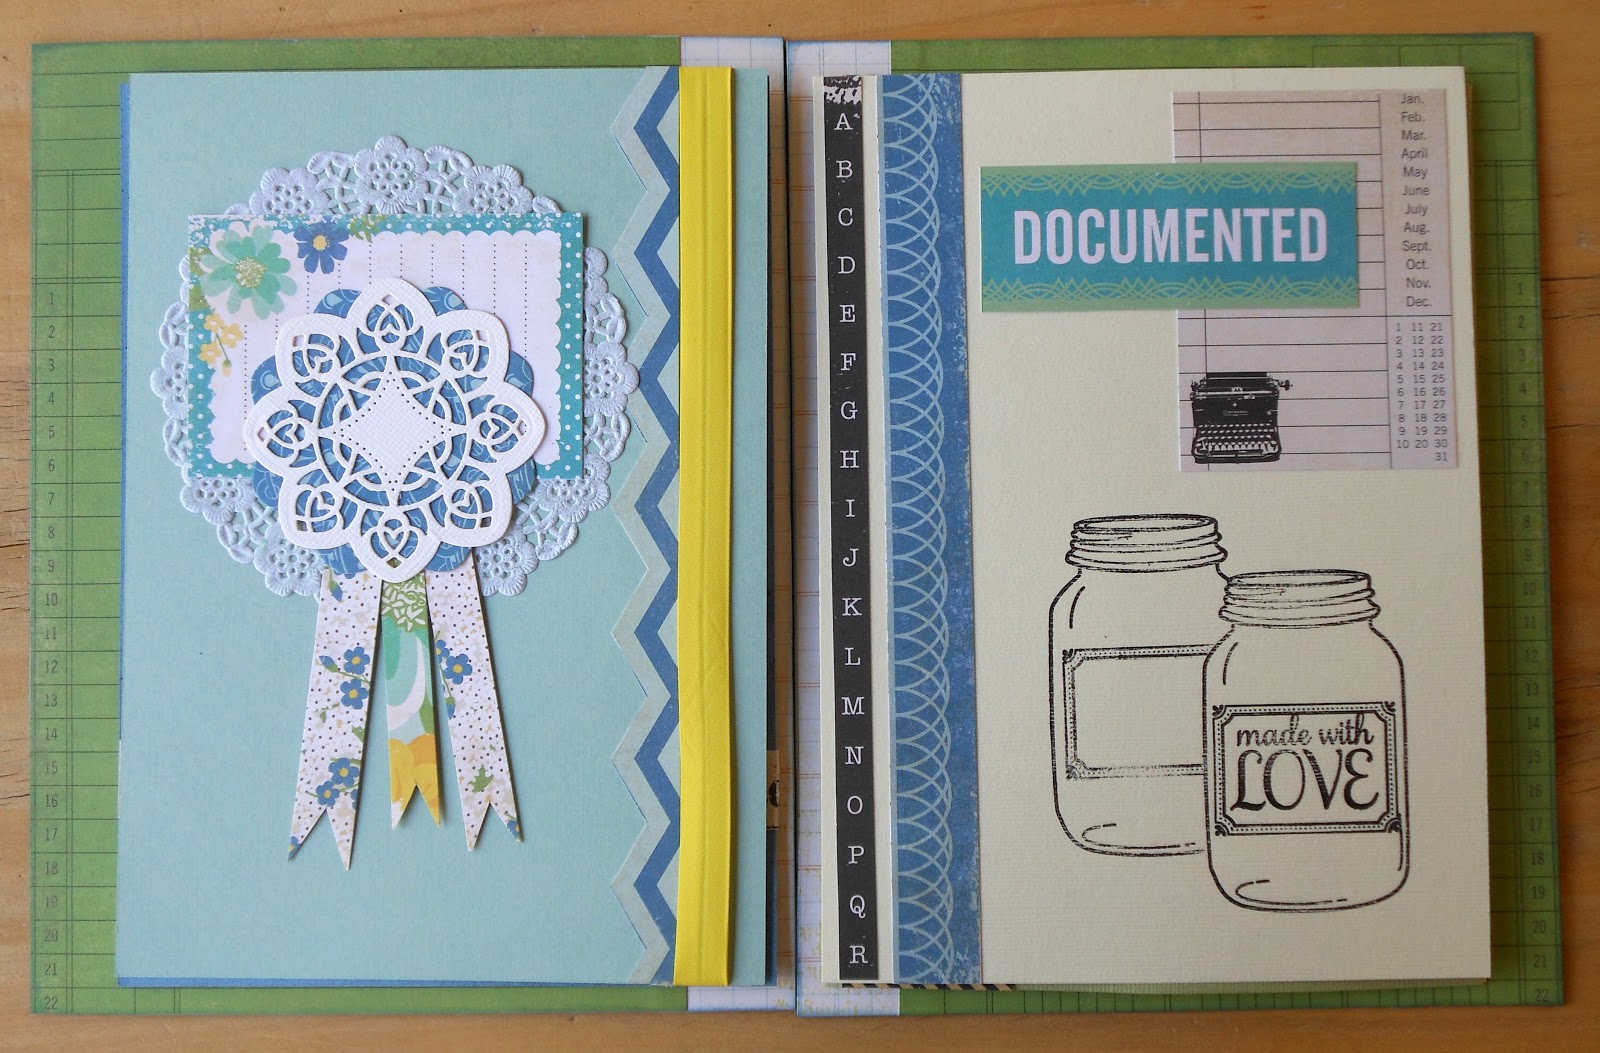
This shows you how I placed the double sided tape to stick down the
inside of the front cover. You can use your favourite glue of choice.
 
On the left hand side, which is the inside of the front cover,
 you can write down the index of your Recipe Book.
 
I used a Mask from Prima and sprayed the blue card stock with
glimmer mist.
 
The rosette was cut with a Spell Binders Die. The front part cut from
white Bazzill card stock and the back side form the Echo Park paper.
The doily was sprayed with glimmer mist.
 
The Mason Jar stamp is from Hero Arts.
To do shadow stamping is quite easy.
Stamp the mason jar on the piece of Vanilla Card stock.
Stamp another image onto a piece of thin paper and cut
out the image with your scissors.
Place the image onto the first stamped image and stamp next to it,
but it must overlap.
So... if you look at my picture, you first stamp the image
on the right hand side and then the image on the left hand side. 
 
The fork is a printed piece of cotton ribbon. Some papers were left 12" long,
and just folded in half and wrapped around the edge of the page and glued.
 
The green card stock was sprayed with glimmer mist and I used
another mask from Prima.The small flowers were punched with
a McGill punch.
 
The back of the yellow card stock was also sprayed with
glimmer mist.
 
Punch 5 tabs out of the remaining pieces of card stock and stamp numbers
onto them. Put double sided tape onto the tabs and stick to the
outside of the plastic A6 page protectors.
 
Start by placing number 5 and 1 in the correct positions.
Space the rest of the numbers and remove the backing of the tape to stick them down.
Put all 5 pages into your page protectors. 


For the envelope: Cut off a piece of the top back side.
Fold the remaining front flap over to the front. Fold open again and
use a die cut to create the border. Stamp the two images and use
washi tape and bias binding at the bottom.
 
Bind the book together with three metal rings
and you are done!


Tuesday, March 19, 2013

In The News Card Kits

Hello again!
Here are the quick and easy cards from my "In the News" card kits.
 
 
The blue pattern paper was cut 5'x5".
I used Distressed Stains on the edges of the paper to
give it a bit more definition.
 
Put the brads through the pattern paper.
Secure the string by making a knot around each brad.
Fold the circles in half and use double sided tape to
keep them closed.
 
Don"t cut this piece 5"x5". The small check piece on the left hand side
was just folded to the front and stapled close. 
 
 The seam binding was coloured with green distress stain,
left for a while and then rinsed under water and left to dry.
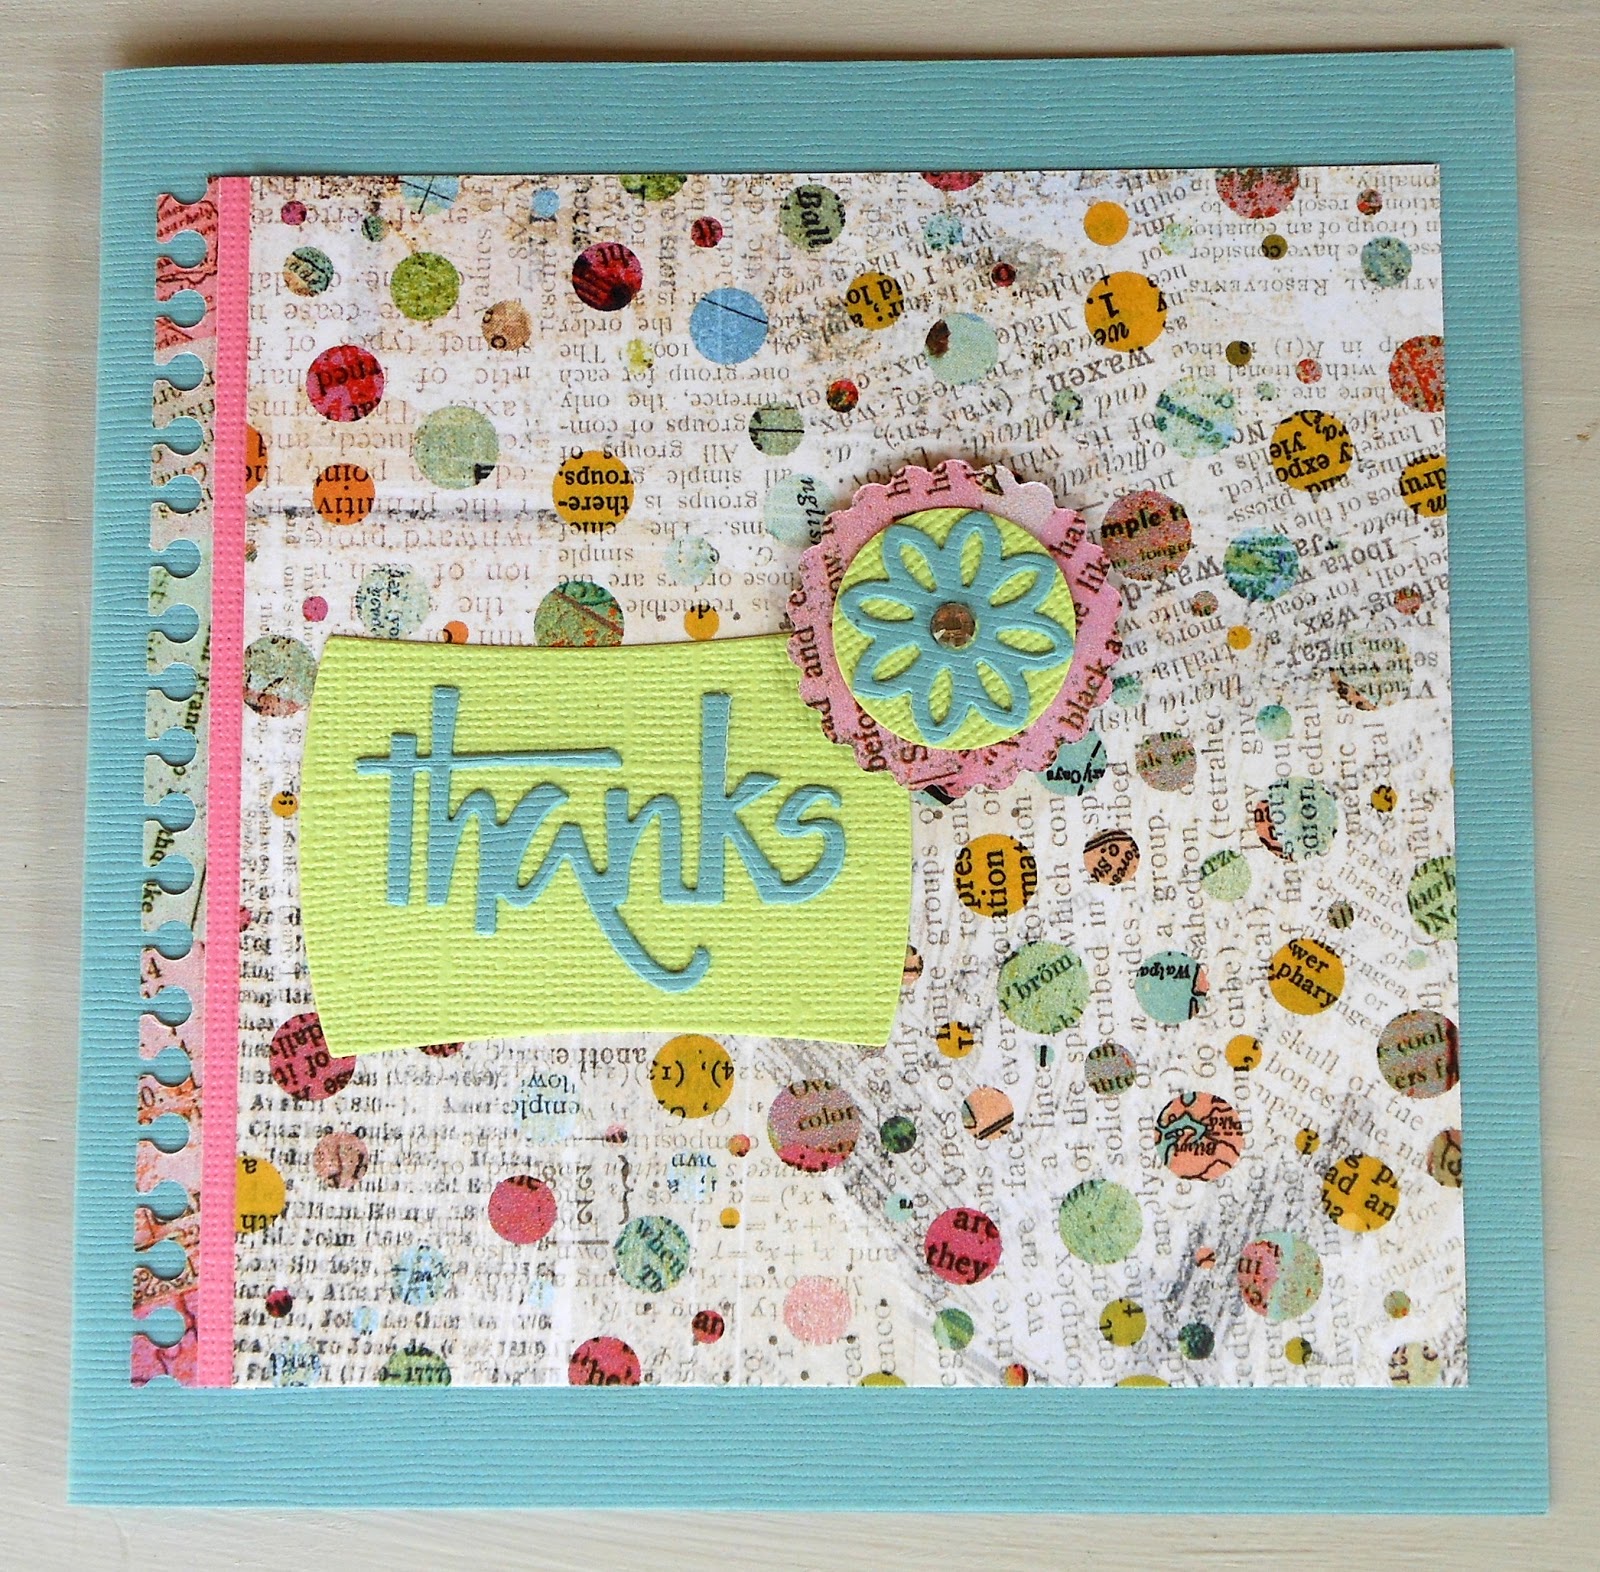
Raise the Thank you element by using foam squares.
use a paper distresser on the edges of the yellow paper.
 
This card is for a friend of mine that had her birthday last week.
She also makes beautiful cards and has taught me
a lot!!
Happy Birthday Claudine!