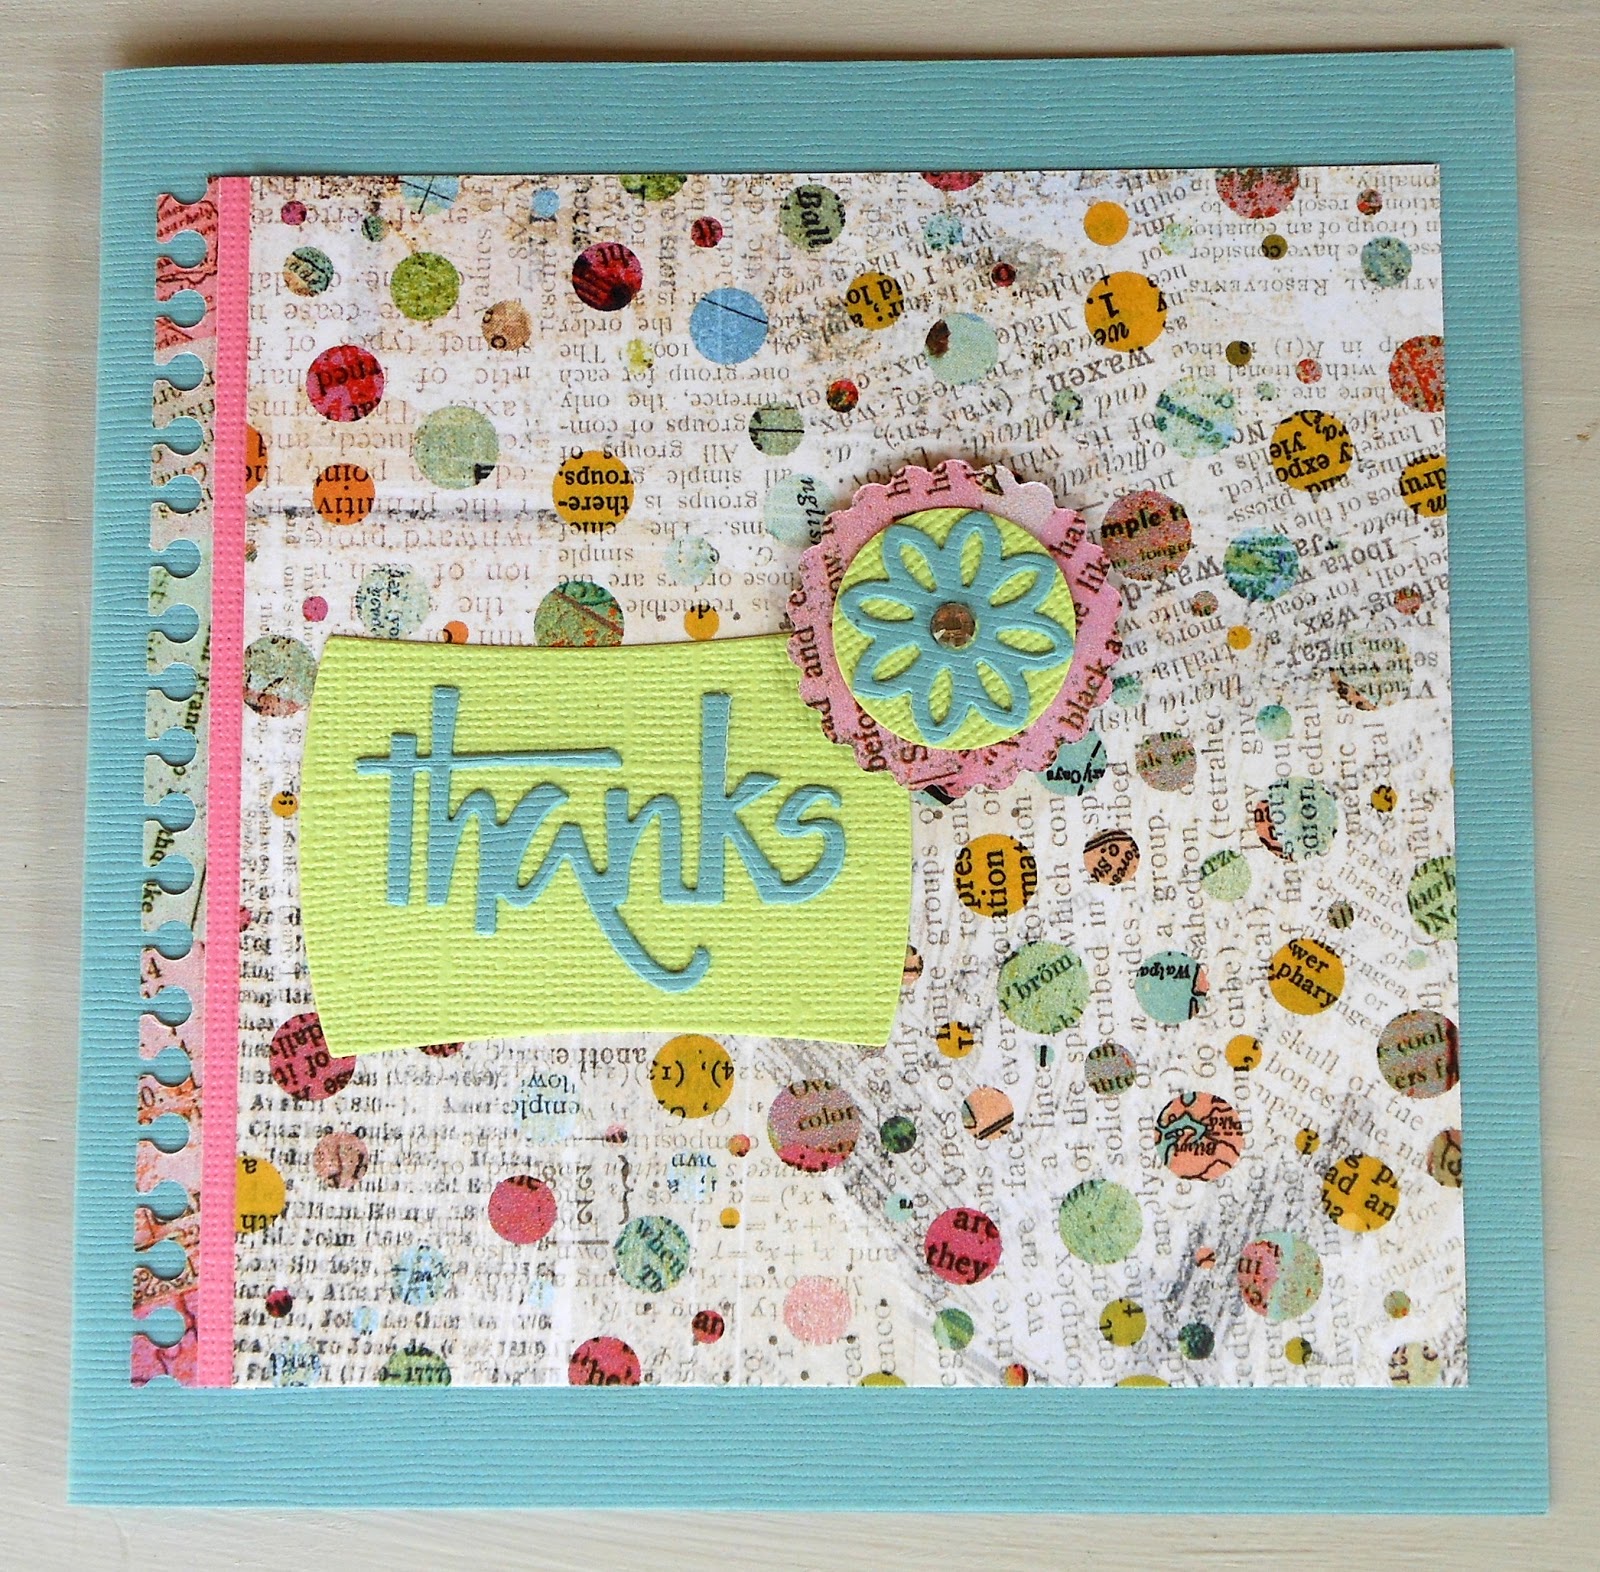
Tuesday, March 19, 2013

In The News Card Kits

Hello again!
Here are the quick and easy cards from my "In the News" card kits.
 
 
The blue pattern paper was cut 5'x5".
I used Distressed Stains on the edges of the paper to
give it a bit more definition.
 
Put the brads through the pattern paper.
Secure the string by making a knot around each brad.
Fold the circles in half and use double sided tape to
keep them closed.
 
Don"t cut this piece 5"x5". The small check piece on the left hand side
was just folded to the front and stapled close. 
 
 The seam binding was coloured with green distress stain,
left for a while and then rinsed under water and left to dry.
Raise the Thank you element by using foam squares.
use a paper distresser on the edges of the yellow paper.
 
This card is for a friend of mine that had her birthday last week.
She also makes beautiful cards and has taught me
a lot!!
Happy Birthday Claudine!
 

Sunday, March 17, 2013

Buttons and Needles Sewing Card Kits

Hi everyone,
For these cards I also took out the seam binding, the buttons, the pattern paper, the doilies the stamps and the inks. Oh, and the measuring tape.
 
If you have a kit like this, start by cutting and folding all you card stock for you cards.
 Put the six blank cards in front of you.

Cut out the different elements for each card.
Put all the elements on each card, even the buttons and ribbon and flowers.
When you have this sorted the rest will be easy and not so confusing.

Now you need to put double sided tape at the back of every element.
A piece of tape close to the edge of each side. Then a small piece in the centre of each piece of paper. This piece will be the first one you remove, just to position the element on your card.
 
Here you can see that I am still busy removing the double sided tape.
First the small piece and then when you've got the positioning correct,
 you can start removing the rest.
You can distress the sides of the paper with a paper distresser,
 just for a bit of texture.
 
Remember always to analyse your picture to see at what stage do you need to tie the ribbon.
 
The element next to the blue bias binding was painted with glimmer spray.
All the paper lace on these cards were glued to the card with Mono Multi glue.
Only use small drops of glue. Let it dry and then place the elements on the card.
 
The yellow bias binding bow was glued down with Mono Multi glue. (dry)
To glue the doilies to the cards I used my Zig blue pen. (dry)
 
To make the flowers.
Make sure you have different sizes of flowers.

Spray or colour them,
 

and use an embossing tool to create a 3D effect
on the flower after it has dried properly.


For all the chipboard elements I used Mono Multi glue. (dry)
If you look closely, you will see that I cut out a thimble from another picture and raised both the words and the thimble by using foam glue squares.
 
For the piece of measuring tape, I used double sided tape. 
 
Use some embroidery thread and tie a knot at the top of each button.
Use foam squares to glue down the buttons.
 
Glues Of Choice:
Mono Multi.(repositionable)
Zig glue pen (repositionable)
Double sided tape.
3D Foam squares.
 
Ink for stamping:
Archival Black Dye ink.
 
Embossing:
Cuttle Bug and Embossing Dies
 
Chipboard Elements:
Enmarc Mini Borders
 
Cutting:
Scissors and Carl paper trimmer.
 
Paper flowers:
Tim Holtz Die
 
 
Happy Card Making!

Friday, March 8, 2013

Creative Hobbies

Yesterday at Hobby-Ex a new craft magazine was launched.
 
Here are some pictures that I took from the published articles. 
And of course.... we created these projects!!
Benice
Lizette and me.
 

Lizette had two master pieces in the magazine.
The sewing booklet and the cutlery pouch!
 
Both are stunning, stunning, stunning!
If you've got it.... you got it!!
Lizette is always an inspiration to us and also a very dear friend.
 
 
These four projects was done by Benice and me.


It was an absolute joy to see the projects photographed so well
and the layout so easy to enjoy and follow.
Well done to Michelle and Lisa!!


Monday, February 25, 2013

Pinks and pastels

We bought this paper a long time ago and every time we had to do a project, Benice said:
We must do something with this paper!
So finally we did !
 
 
During Saturdays class each group made five cards.
It was great to see some familiar faces and to
have card making beginners in the class.
I explained the different glues and the basic tools.
  

Before I packed the kits, I did a lot of extra cutting
and sprayed the doilies with glimmer mist so we would have more time
in class to complete the cards.
 

Remember you can dye the seam binding ribbon with
Distress stains and other inks to give it a more vintage look.
 
 
Enjoy your Monday and do some crafting!!
 

Thursday, February 21, 2013

Love is the thread that binds us

When I saw this paper, I knew I had to make cards with it.
So I took out the bias binding, the dress pattern paper, the measuring tapes,
the pinking shears, the seam binding and
the buttons and started playing.
 
 
Oh, plus the stamps and the ink!
 
 
It was in High school were I learned to sew. I remember we
had to do a lot of hand sewing!
Oh, and the inside had to be as neat as the outside.
Now we are wearing the outside on the inside.
But it was all worth it, all though I still don't like embroidering.


I remember that same teacher that taught the sewing class,
once threw me with a piece of dough,
because I was talking to much in her class.
But we all liked her, she was young and had guts.
 

My 21st birthday present was a .... sewing machine.
An Elna, made in Switzerland.
It was wonderful. I made curtains, table cloths, dresses,
pillow covers and lots more.
 

Now I use that same machine to shorten the hems of our trousers
(we are both digits... my husbands version of midgets!)
and to do the sewing that I incorporate in my crafts.
 

Never pass on a chance to learn a skill!
Keep well and have a good weekend
and remember... love is the thread that binds us all.


Monday, February 18, 2013

Butterfly Tekkies

During this class everyone decided to use napkins with butterflies on them.
All of the tekkies turned out beautifully.


I know that some of the girls have orders for tekkies.
Herannies in Centurion has lots of serviettes that they sell in packets of two,
so you don't have to buy a packet of 20.
 

Pastel coloured cards

Hopefully we will soon be making envelopes for all of these 6"x6" cards.
Get your scoreboards ready!
 
These are cards that are quick and easy but
if you find that they need a bit more embellishments,
you can always zoesh them up a bit with stamped sentiments or flowers.


Have a nice day!
...... but first have a look at the new Kaiser Craft paper.
the 75 cents Collection, is just gorgeous!


Monday, February 11, 2013

Cards for Valentines day

Here are the pictures of the cards from the Valentines kits.


Enjoy the kit and thank you for visiting!
The paper I used is from the Be Mine range from eco park.
Tip: Always invest in a pretty doily.