Monday, July 22, 2013

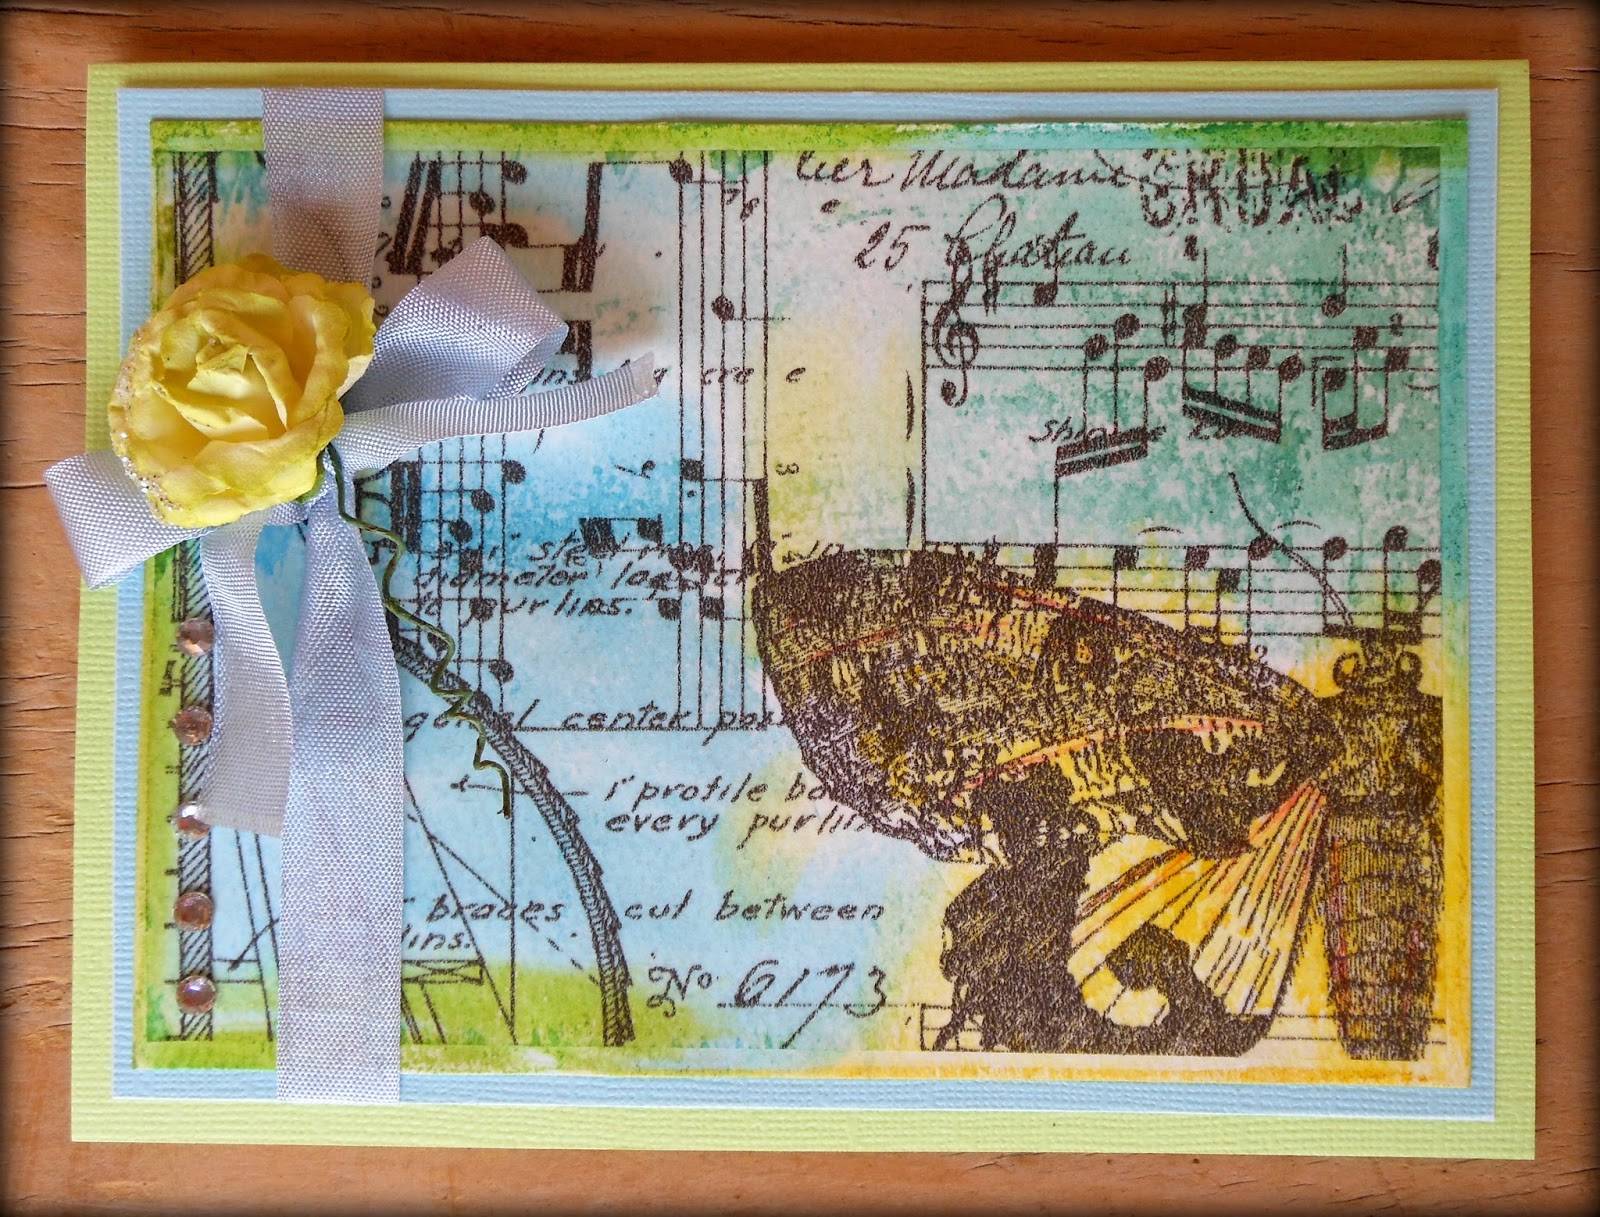
Cards with a vintage look

Today is actually a big day.
They started building my new studio.
For the next three months it will be dusty, noisy and busy.
 
Everything is charged, me and the battery of the camera!
 
I love this look for winter and on these cards I don't want more
embellishments or elements. Dry emboss the pink card stock
and then colour it with Distress inks.
 
I used Spellbinder dies and Sizzex dies with these cards.
Here is a list of things you might also need to complete the cards.
 
Chalk ink
Different dies
Stamps
Archival ink
Paper distresser
Glimmer mists
Distress Stain
Distress inks
Double sided tape
Foam tape
 
Mist the card stock (which is behind the picture)
with pink Glimmer mist before gluing the picture
to the card stock.
 
You can also colour the seam binding tape with your
Distress stains to give it a darker colour.

The lace tape is like a sticker, just peal off the backing and stick down.

Maybe... a small doily behind the brown piece of paper?
Enjoy making the cards.
x


Vintage look for winter cards..

Hi There everyone,
Sharing my cards with you is always a pleasure.
 
 
As I was editing the photos for this post, I saw that I need to
retake two of them. I set up everything and then the camera battery dies!! 
So here is what I have at the moment, the rest is coming later!
 
Thanks for being patient. x

Cards made with Love

Spray and Stamp and Cut and Sew. All in a day's work.
I love using doilies on my cards. From now on
I will be layering the doilies as well.
Big and small and in different colours.
 
This is my favourite card of this bunch.
 
When I look at these photographs, I can see what extra I should have put on.
The cards that I see on the Internet has lots of die cuts and
labels on them and they look gorgeous.
 
The green card stock was stamped with shadow ink
and the edges were then distressed.
 
The bobbin label was stamped separately, cut out and glued down.
 

Grandmas nails were done with some pink Stickles.
 
If you have Distress stains or Distress Inks, it is easy to colour in the stamped image.
Wet a small brush, wipe off the excess water and pick up some ink and colour away.
 
The wording was coloured with Silver Distress stain. Perfect for chipboard.
 
Dry emboss the pink paper and the sand it lightly.
 
Plain Bias binding are very versatile. Colour, cut, crinkle and stamp.
 
Here I used some green embossing powder around
the edges of the green card stock.I sprayed the paper with
Glimmer Mist and dry embossed the paper.


Monday, July 8, 2013

Bitrhday Cards

Everybody is having a birthday this month!
 A lot of special people.... all of them.
I hope I will be sharing more cards with you as the month goes by.
 
This one is for Benice, she a purple and blue person
 
and this one for Delene.
We have been friends since Grade 8.
 
What is wealth? Beautiful quote
 
FRIENDS.............!
I am wealthy.
 
xx
 

Tuesday, June 11, 2013

Card making.

Sorting out STUFF sometimes helps to clear the mind.
That is what I have been doing today. The studio was a mess this morning,
but now it looks better and I feel better!
 
Now I can start packing the kits for Saturday's class.

Six cards with a sewing theme.
We will dry emboss, heat emboss, distress, spray, punch,
stamp and sand. 
 
Class at: Sweetscrappins.
15 June 2013
09:00 - 12:00
Tel: 012 329 9175


Sunday, May 26, 2013

Leisure Books Polymer Clay Class

As I said, I am glad to be working with polymer clay again.
Maybe playing with clay during my Gr 1 year has
left a lasting impression om me that I wasn't aware of.
 Maybe also the painting.......

 Ranger has a Distress ink called Stormy Sky. I used the
ink on the canvas and then sprayed it for a more distressed look.
It looks like Delft, I couldn't believe my eyes.


 To colour the clay, we used Perfect Pearls. (Also form Ranger)
The small silver element was covered in Silver Leaf.
Stamp the words Love and Memories with black Archival ink. 
The edges of the canvas are stained with the Distress Stains.
I used Black Soot and Stormy Sky.

Use a Crop-a-dile to punch holes in the Canvas panel
and thread a piece of gross grain ribbon through
the holes. Make a knot in front at both sides and you are
ready to hang your art work.

Friday, May 24, 2013

Mothers day Gift Tin

These tins were decorated during our class on the 11th of May.
Most of the girls said that they were going to keep their tins.
 
 
We used Alcohol inks to colour the lids and each one chose their own colours.
 

Then we decorated the lids with stickers and flowers.
With alcohol ink you never really know how the result will look like,
but that is exciting. If you want to experiment first, do it on a piece of acetate.
The sides of the tin were covered with paper and decorated with stickers.
 
 
And as always, you need to bling it up. Either with some
rine stones or flat back pearls.
 
 
Inside the tin are 18 small cards, some completed with
stamped words and small embellishments, The others more plain
and dry embossed.
The small Afrikaans stamps work wonderfully
with this size cards.
 
 
Also inside are decorative pins, ribbon, paper ribbon and
flowers. You can really fill it with anything you want.
 
 
Earlier this year we decorated the same tin for the
Creative Hobbies magazine but gave it a vintage feel.
Inside are memories of my Grand mother.
 
 
The next post I have lined up is all about the
polymer clay class we had with Leisure Books
at Diep in die Berg.

Wednesday, May 22, 2013

Riebeek Valley Olive Festival

 
Hi Everyone
as you know I am a few posts behind,
 
but I would first like to share a few photographs of
the Olive Festival that we went to.
It is an annual event held in the Riebeek Valley,
one of the most beautiful places in our country.
 
 
The day before the festival started we went on our own wine tour with
our friend Johan. He knows the region and he really knows his wine,
which was a huge benefit to us!
 
 
I love the smell of an old wine cellar and the old farms has a
special magic to them. Here you talk to the owner or the winemaker
and buy directly from them and of course you start tasting at eleven
o'clock in the morning!
 
 
The day the festival started all the stalls were fully stocked
and you could taste bread, honey, olives, wine,
preserves and lots more.

 
I liked the new way the sell olive oil. In a litre box.
Now it will stay fresher for longer, because no light or oxygen
can get to the oil. Brilliant.
 
 
I can't believe that I didn't buy one of these cupcakes....
Never pass up on a chance like this.
 

Later in the day we settled at Kloovenburg, bought a bottle of wine and
some cheese platters. Sat in the sun and soaked up the atmosphere,
the music, the colours and the smells.


Our last stop of the day was at a modern wine cellar, Pulpit Rock.
Excellent wine, wonderful atmosphere
and delicious food.
That night Johan, Sonia and the team (all of us)
made supper and kuiered on the stoep until very late.
 
Next year we are doing it again!