Showing posts with label Cards. Show all posts

Thursday, May 8, 2014

Die cuts and Doilies.

Today I am sharing my last set of easy to make cards.
Since these I haven't made a set of cards. I have been too busy with
painting stuff and living life. At this stage I am also busy decorating the " powder room"
in the studio. The chair has been painted and the towel holder is now attached to the wall.
Now the curtain must come down and the clips must be finished off with
silver gilders paste.  In between I must still paint the shelf from the old studio so that it can go back
into the new studio.
The drawers and the wooden chairs must also be painted.
Maybe I am a bit overwhelmed.... 


I hope you like the new logo for the blog.
There was a choice between two, maybe I will still change it to the other one.
Keep Crafting.  X

Tuesday, March 25, 2014

Michelle's style.

Michelle has been a client and a friend for a long time and
she has her own unique style of doing things.
Here are a few of her latest cards, 
I just love them.


Here she used some wahi tape and a Tim Holtz
stencil with distress ink.


Again the Distress ink pad, applicator tool and a stencil,
gives an interesting background.


Two of Michelle's favorite tools are the 
paper edge distresser
and the stapler. 


She also has a saying that loosely translates into:
Do as you feel guided...... 

So girls, do as you feel guided this week and see what happens!

Tuesday, January 21, 2014

Maybe it's my style?

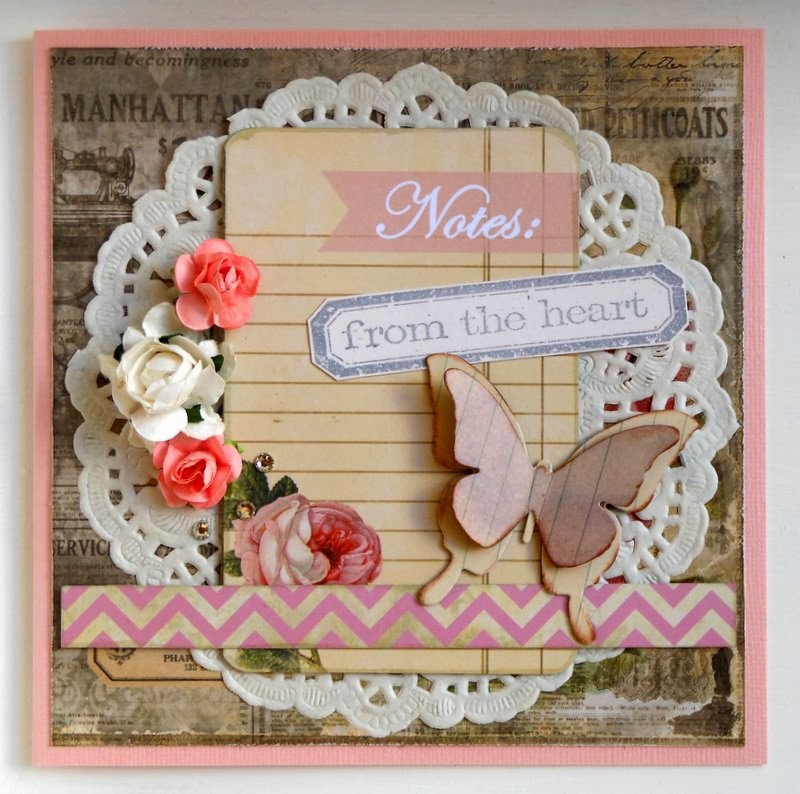
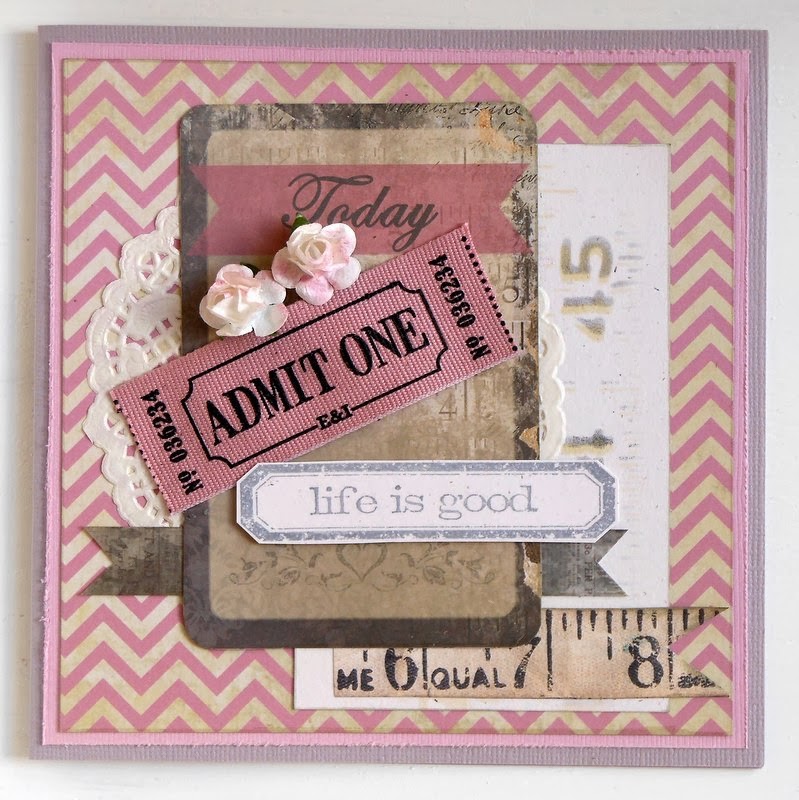
Maybe it's the paper, but I seem to choose paper where I can use doilies and roses.
Do some stamping and add a little seam binding ribbon.


A soft grey ink is ideal for the stamping on these cards.


To create the butterfly, cut two different sizes butterflies and chalk the edges.
Only colour the top butterfly with a bit of purple Distress ink.
Score and fold the wings of the small butterfly. Glue it together with 
a bit of Mono Multi Glue.


Benice suggested the purple colour that I used here for the card, and it 
worked perfectly. 
The measure tape element was created with 
Tim Holtz's Layering Stencil. First I used a light coloured Distress ink pad,
picked up some ink with the blending tool and applied it over the stencil. 
Then I moved the stencil a bit, picked up a darker Distress ink and applied it
over the stencil. That is how you get the shadow or misprint effect.


For the bow, I took a long piece of ribbon and folded it a few times.
Then I took a short piece of ribbon and tied it together with 
a double knot. 


 Cut two of the same butterflies and dry emboss the top one. 
Then spray the top one with  glimmer mist. 
Use the blending tool and some purple ink to highlight 
the swirls on the butterflies.
Glue together with some Mono Multi Glue.


Nothing fancy on this card. 

Tip/Trick #7: After applying the Mono Multi glue, 
wait for it to dry, then position it on the card.

(All my different Tips and Tricks are called: Trick #7!)

Keep well.


Thursday, January 16, 2014

Card Class Saturday 18 January 2014

Dressing up is always fun! Finding embellishments for
a card is also fun. It is the same as dressing up.
Can I add this..., will this go..., is this to much...?
All the same questions.

Saturday 18 January we will be making 6 Cards.


As always learning, relaxing and creating.
Book your class at
 Carla: 0123299175

Monday, January 13, 2014

88 Today

I need to say a special Happy Birthday to my mom who is turning 88 today.
Yesterday we had cake and tea with her, my dad and the rest of the family.
My sister baked a Carrot cake, using a recipe my mom once won a price with.
It was delicious!


My niece and I made her a 3-D birthday card which she enjoyed a lot.


After the party I took out all the hearts and flowers and stars.
Tied it into a bundle and she took it home.


Happy Birthday Mom, we love you lots. x

Cards with Doilies and Roses.

This was the last card class for 2013.
One of the cards will be published in a magazine, so I will not have a picture 
of that card until it was published.

If you count the layers, you will see that there are 5 layers of paper.
I think that is enough to give you space to work with color,
texture, pattern, shape, contrast and dimension.


I hope you all had a wonderful Christmas and may all your New Years wishes come true.

Saturday is our first class for this year and I still need to work on those cards.
May you all have a very creative year!!
xx


Thursday, September 12, 2013

More Cards For Men.

Time really flies.....
The doors are in, the glass of the windows has been installed,
the ceiling is up and I am smiling. The builders are here every
day and they are making good progress.  
My mom and Dad are moving in less than
a months time and there is still a lot to do.
 
I have been working on a altered Cigar box that I
brought back from France a year ago. Liezel from Scrapping & kie
asked if I have anything Mixed Media that
she could put in her magazine... so the Cigar Box ended up with her.
 
On 28 September I will be teaching
the Altered Cigar Box class at Sweet Scrappins. Send an email
to book your class.
 
Here are the Cards for men from our last class.


Enjoy the day!


Monday, August 19, 2013

Cards for men

Here are six cards designed for men.
To create these cards I had to make a little bit of a mind change,
a colour, theme and embellishment change.
I hope you like them....
 
This card is 5" x 6".
Colour the Tim Holtz Tissue paper with the Distress stains of your choice.
Remember you can always add colour, but you can't take it away.
Die the twill tape with Adirondack Colour Wash.
Use the ink blending tool to colour the background of the stamped image
with Distress inks. The gear element is embossed with one layer of
pewter embossing powder.
 

Stamp the image with Archival black ink. Colour the scarf and the hat
with Distress markers and blend with a water pen.
Use a Spellbinders die to get the torn note book effect of the rust colour paper.
Emboss the sentiment with a double layer of charcoal embossing powder.
The gear embellishment only has one layer of pewter embossing powder.

This easel card is easy if you measure carefully.
Start with a 12"x 6" brown card stock.
Score and fold in half. Now your card is 6"x 6".
 Then score the front page at 3 inches and fold back.
The rust pattern paper with the stamps and the rust pattern paper with the
Eiffel towers need to be the same width.
The green card stock for matting and the rust card stock
for matting also needs to match as well.
Mount the piece of paper with the stamps on foam squares
so that when you open the card it will stand on its own.
 
I hope the instructions are clear. It is sometimes not that easy to explain
things in another language.
I also have a little trouble loading the photos of one of the cards,
but as always.... will try again and
hopefully will publish it soon.
 

This card is also 6" x 6".
Start by placing the four picture squares onto the brown pattern paper.
Measure and cut. Then mat the brown pattern paper onto the red pattern paper.
Get the measurements for the cream card stock.
Put the four pictures on foam squares to get dimension on the card.
Stick the two embellishments to the bottom left picture.
 
For the younger guys, something more funky.
Not as busy as the previous ones, but still interesting.
I used stamps from my 7Gypsies collections.
 
This was the photo that did not want to load onto the blog.
At last!!
The dies I used for the green and white card stock, are from Sizzex.
The stamp pad is from Ranger. Archival Coffee.
Today I am getting some Tim Holtz stamps that I ordered.
I am excited, it is stamps I can use to create more cards for the men.
Keep Well!


Monday, July 22, 2013

Cards with a vintage look

Today is actually a big day.
They started building my new studio.
For the next three months it will be dusty, noisy and busy.
 
Everything is charged, me and the battery of the camera!
 
I love this look for winter and on these cards I don't want more
embellishments or elements. Dry emboss the pink card stock
and then colour it with Distress inks.
 
I used Spellbinder dies and Sizzex dies with these cards.
Here is a list of things you might also need to complete the cards.
 
Chalk ink
Different dies
Stamps
Archival ink
Paper distresser
Glimmer mists
Distress Stain
Distress inks
Double sided tape
Foam tape
 
Mist the card stock (which is behind the picture)
with pink Glimmer mist before gluing the picture
to the card stock.
 
You can also colour the seam binding tape with your
Distress stains to give it a darker colour.

The lace tape is like a sticker, just peal off the backing and stick down.

Maybe... a small doily behind the brown piece of paper?
Enjoy making the cards.
x