Thursday, May 28, 2015

Crepe Paper Flowers

I attended a flower making class and
it was so much fun!
It is something I can get hooked on.


I am definitely going to try this
and make my own. 

Tuesday, May 26, 2015

Shrink Plastic and Felt Broaches

I know shrink plastic is hard to find at the moment.
So if you find some, buy some and hold onto it.
It can be cut with scissors or with your 
Spellbinder or Sizzex dies.


Here are the tools that I used to make the broaches.


Co-ordinate your felt colours with your embroidery thread colours.
A bead needle and two strands of embroidery
thread will make your life easy when you
sew on the seed beads.


I used Sharpies to colour the images on the shrink plastic.
Remember if you do the colouring before you shrink the plastic,
you will have very intense colour.
The step by step of these broaches are in the 12th edition 
of the Creative Hobbies magazine that are on sale at the moment.

Friday, May 22, 2015

Felt Broaches in Purple and Pink

It's Friday....wow..
Tomorrow I am attending a Flower making class.
I am going to learn how to make huge 
flowers out of Crepe paper.
I am very excited. Hope to share my creations with you!


These are the felt broaches that I am busy making 
for an upcoming market.
 I think they would also look lovely on a headband.
Felt was never really my "thing" but
I really like doing the free hand embroidering on it. 

On my studio table I have a few projects going.
Cards for an upcoming class,
a decorated tin that is nearly finished 
and the art journal techniques and samples
for the students.


Have a creative weekend. 

Wednesday, May 20, 2015

Art Journal Creative Hobbies 11

When you do a step by step for a tutorial, you take a lot of photos!
Here are a few more photographs of the Art Journal that I made for the magazine.


Here are most of the supplies that I used.


For all the pages of the Journal I used a 200 gsm
mixed media pad. This paper can take the punch!
You ink, stencil stamp and emboss.

The ink process is wet and you do both sides of the paper,
so you need a good quality paper.


Anything can also be added to your Journal.
Envelopes, craft paper dividers and scrap pieces of papers,
Have a look at Issue 11 for more info on this project.

Friday, May 15, 2015

Art Supplies for Art Journaling Class

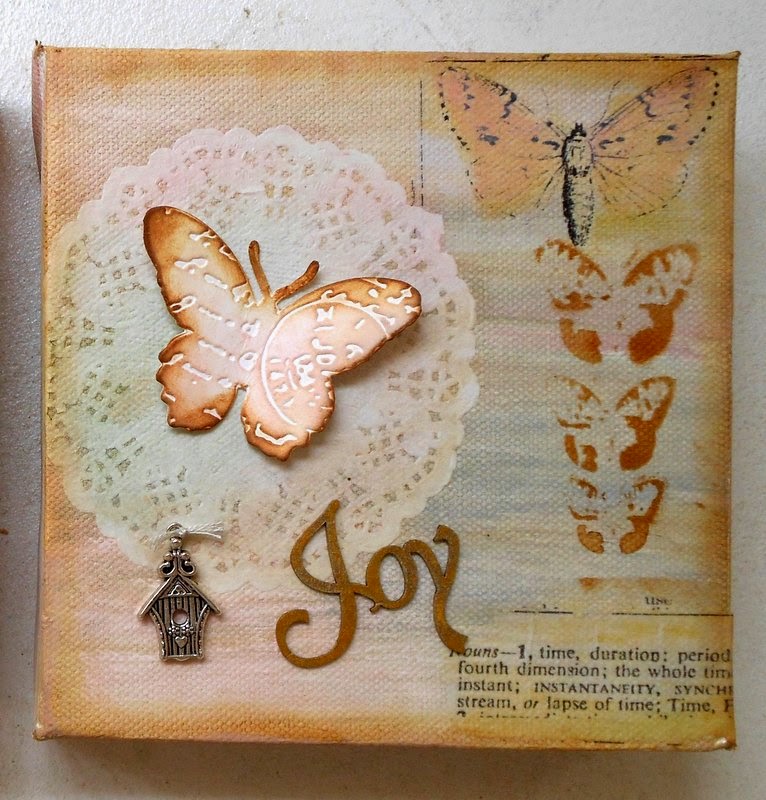
Art Journaling is a way to express yourself....without
any criticism.
There are no deadlines, there are no rules.
You can use what you want 
and create what you want.


These are my absolute basics. 

A4 Heavy duty mixed media pad
Micron pens
Glue
Aqaurelle pencils
Water colour paints.

If you feel like creating, writing, doodling, drawing, scribbling,
painting, stenciling, texturing, gluing, spraying, stitching,
cutting and playing..... you are invited! 

We will start off with one class a month. 
One for the girls who can make it on a Thursday
and one for the girls that can make it on a Saturday. 

Here are the dates:

Thursdays: 
18 June
16 July
20 August 
17 September
15 October
19 November
all classes 09:00 - 12:00

Saturdays:
 20 June
18 July
 22 August
19 September
17 October
21 November
all classes 10:00 - 13:00

I will teach you the basics:
Where to get inspiration
how to create a background
how to use the different products
and a new technique each month

The aim of the class is to learn how to be comfortable to create
and find your own style.

( if you don't have a style yet, don't worry!
if you miss a class, don't worry !)

 Available for class use:
stencils
stamps
die cuts and machines
embossing folders
punches
and all the other non consumables

You need two things to start with:
A4 mixed media paper pad (photo)
Micron pen. 0.4

Reply by e-mailing me.

I hope you all look forward to start expressing
yourself on paper!


Thursday, May 14, 2015

Small Mixed Media Canvasses

Using different mediums on a canvas can be challenging.
Will the tissue paper tear? Where do I put my embellishments?
What colours am I going to use?


For this class we:
Covered the canvas with gesso.
Painted it with two colours of distresss paint.
Blended the colours by wiping it with a baby wipe.
Used gel medium to adhere the tissue paper and the 
doilies to the canvas. 


Then we used stamps and ink to create some depth.
We created shadows by using distress markers and a water pen.

To create the butterfly and the heart, we glued a piece of 
watercolour paper to a piece of canvas paper.
We then used die cuts and a die cutting machine to
cut out the two shapes.
Then we embossed the two pieces before they became to dry.
Let them dry completely before you apply the colour with 
your distress ink and applicator tool.


Each of the students brought their own individual touch to the canvasses.
It is amazing how different the end results can be.


Here is a list of the supplies that we used:

6 x 6 inch canvasses
Gesso
Distress paint
Distress markers
Distress stains
Baby wipes
Gel medium
Tissue paper
Doilies
Stamps
Archival ink
Die cuts
Die cutting machine
Chipboard words
Metal embellishments


Experiment with these techniques in your art journal.
Play around and enjoy the process.